Throwing My Best Friend a Lilly Pulitzer-Themed Birthday Party!

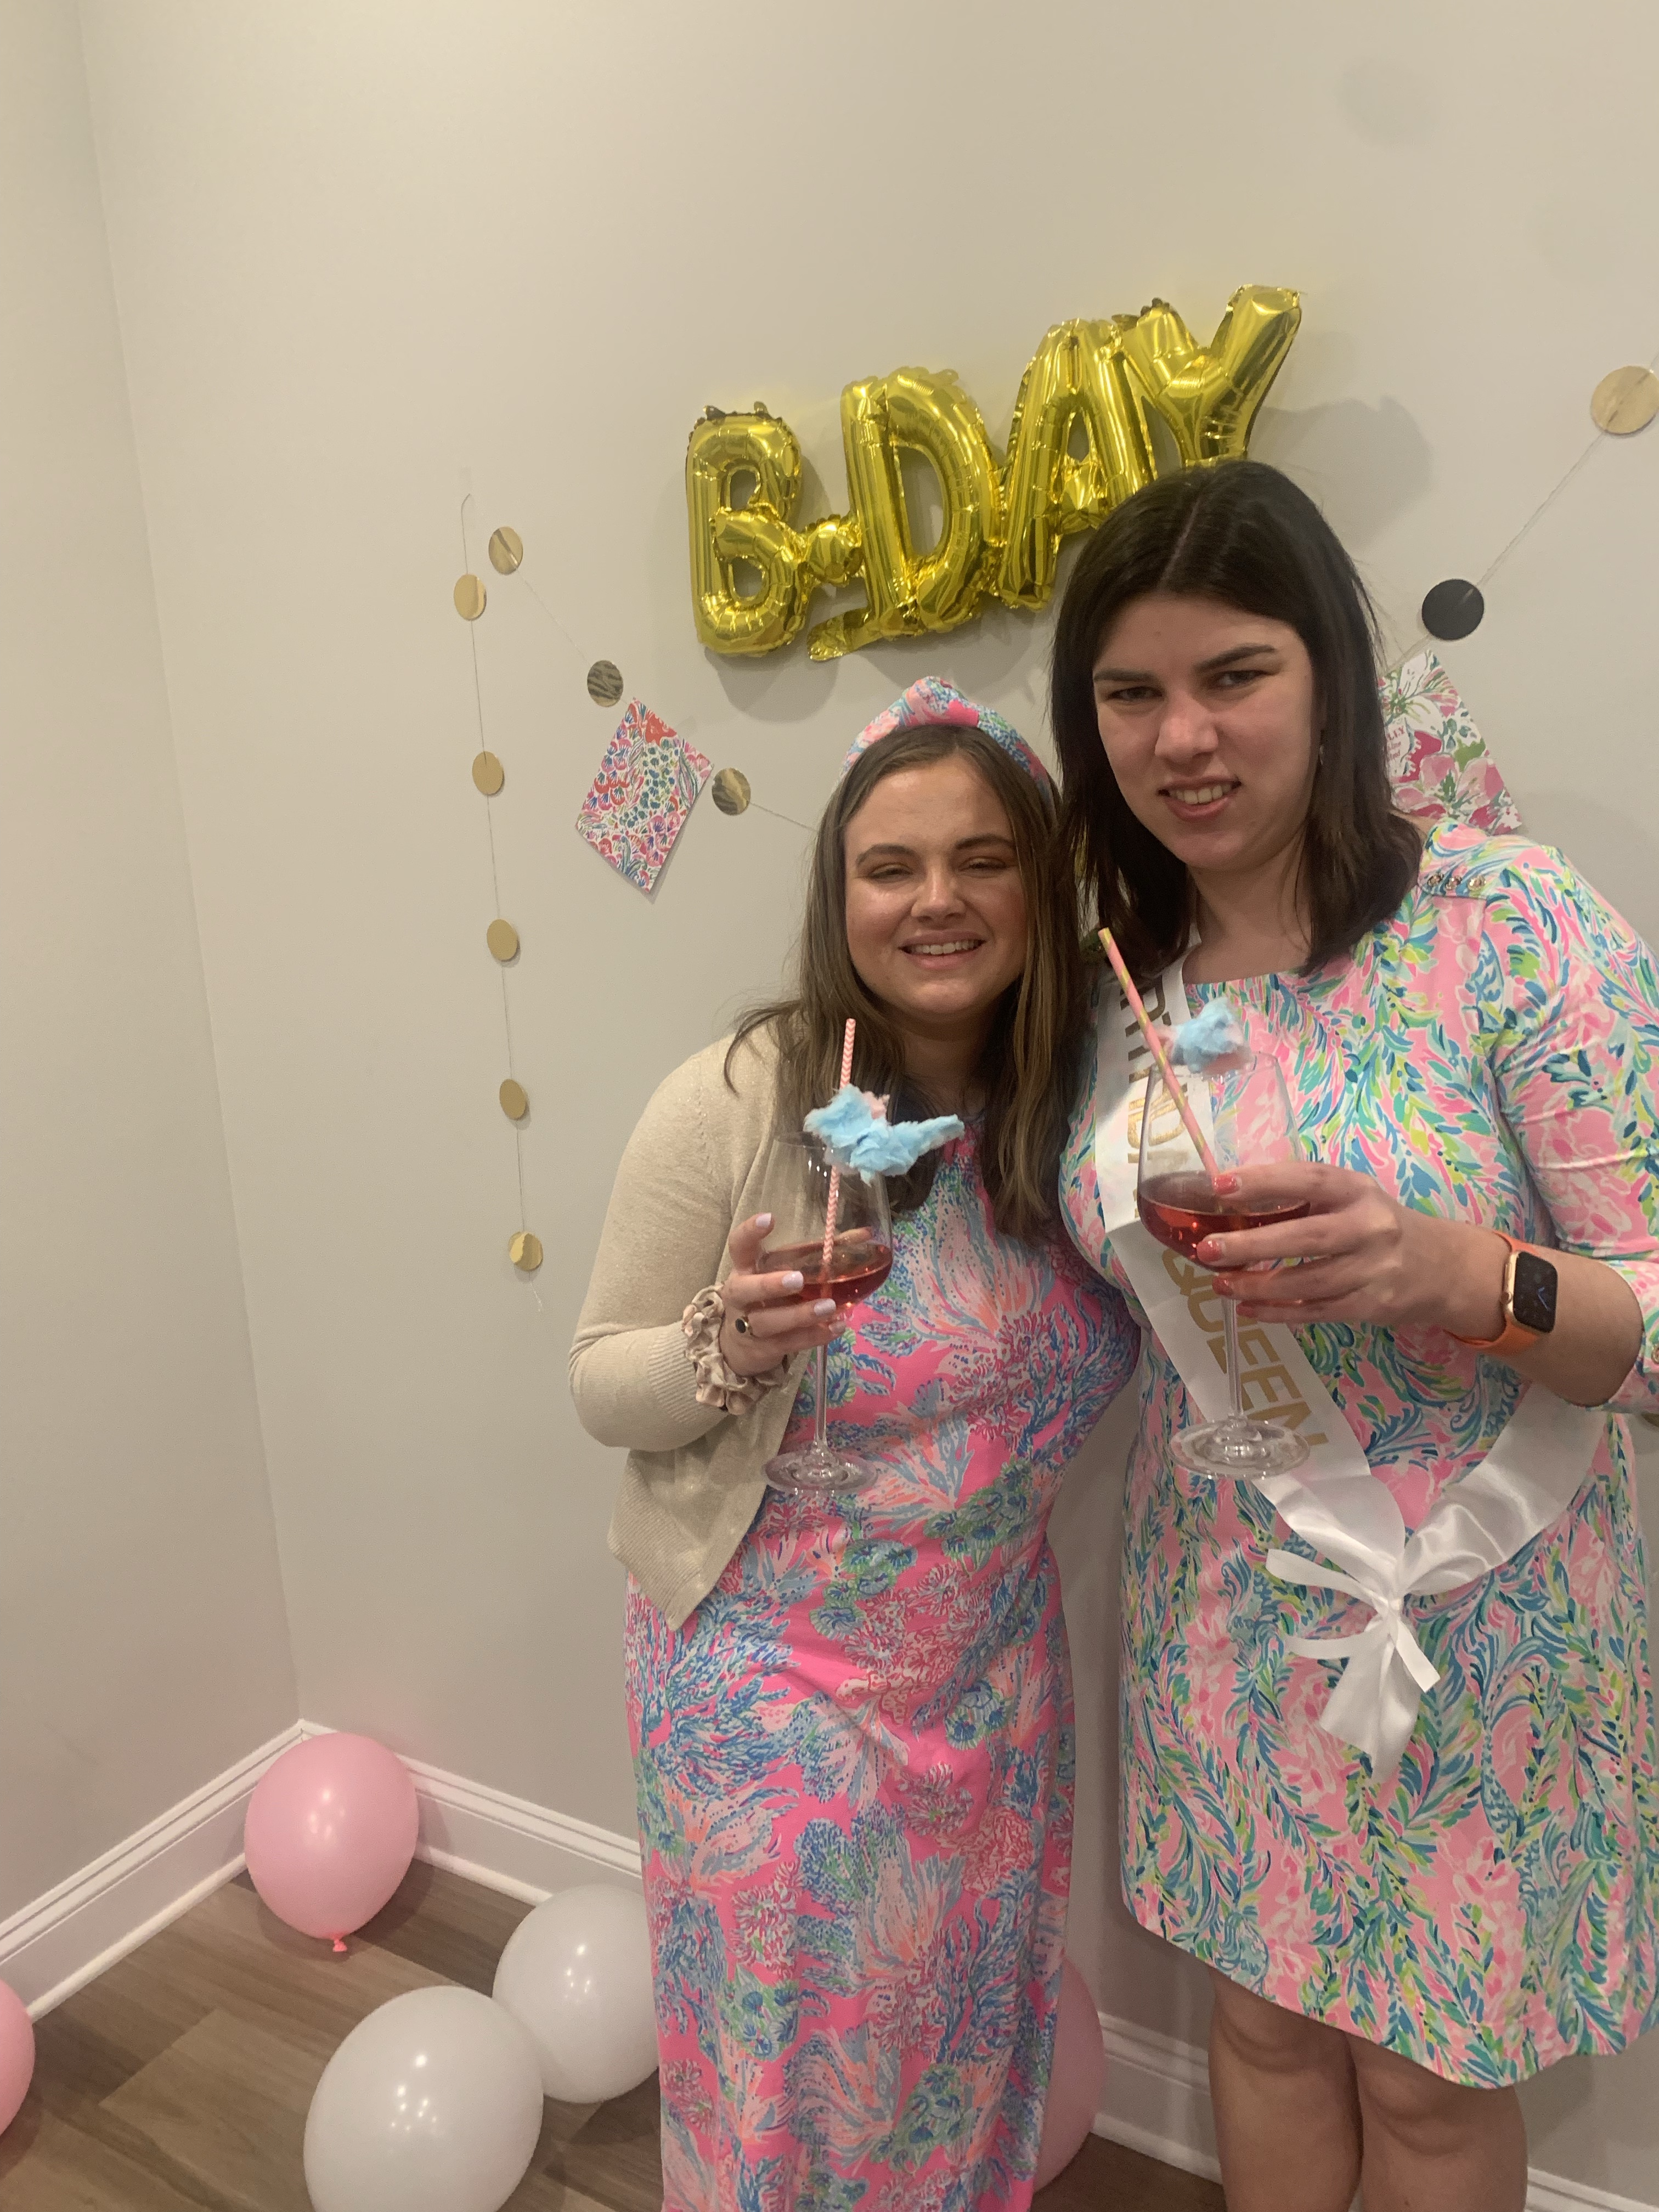
This past weekend, I went to my college town of Raleigh, North Carolina to celebrate my good friend Alanna’s 25th Birthday – YAY!! Alanna has been one of my best friends made via my college experience and she is ALSO a fellow Lilly Pulitzer lover. One of Alanna’s dreams was to have someone throw her a Lilly Pulitzer-themed Birthday Party, so our mutual best friend Hannah and I decided to make just that happen. Today, I am going to be sharing ALLL the tea on Alanna’s Lilly Pulitzer-themed Birthday Party!!

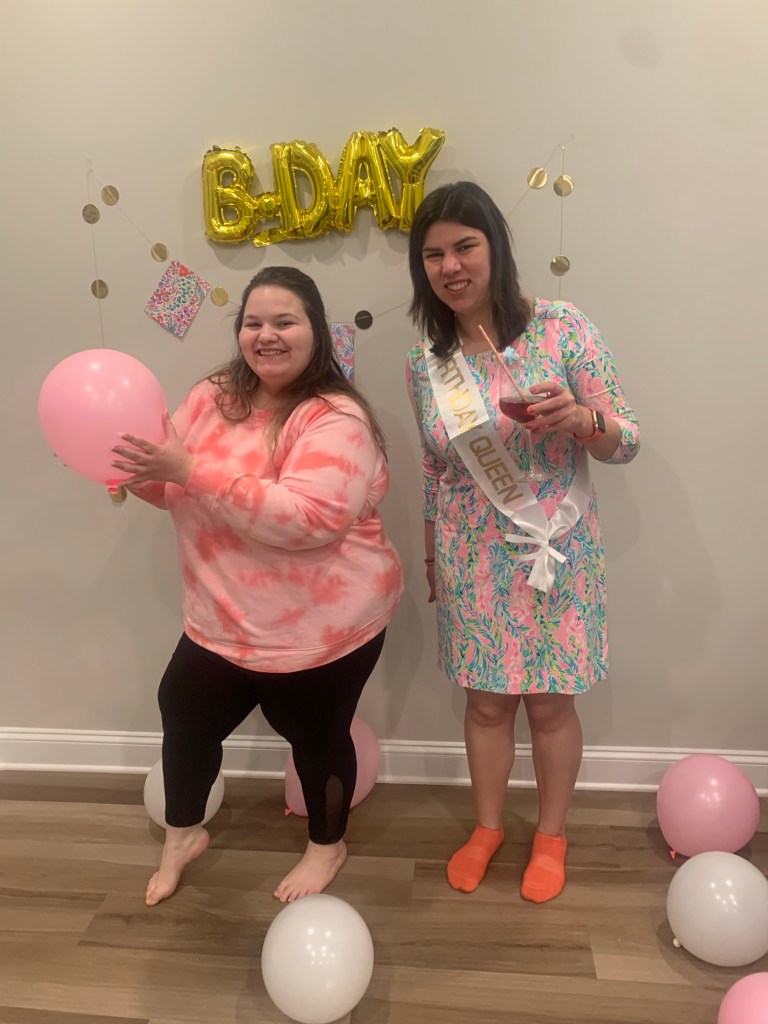
So, for Alanna’s Birthday party, I wanted to start by planning out my outfit. I asked Alanna what her favorite Lilly Pulitzer prints were and discovered that we share one of the same favorites – Seaing Things! Y’ALL, I own 6-7 (I lost track haha!) things in this specific print. So, I decided to wear my maxi dress that I purchased during the Lilly Pulitzer Sunshine Sale back in January 2022 along with my Lilly Pulitzer x Lele Saudoughi headband in that exact print, too.

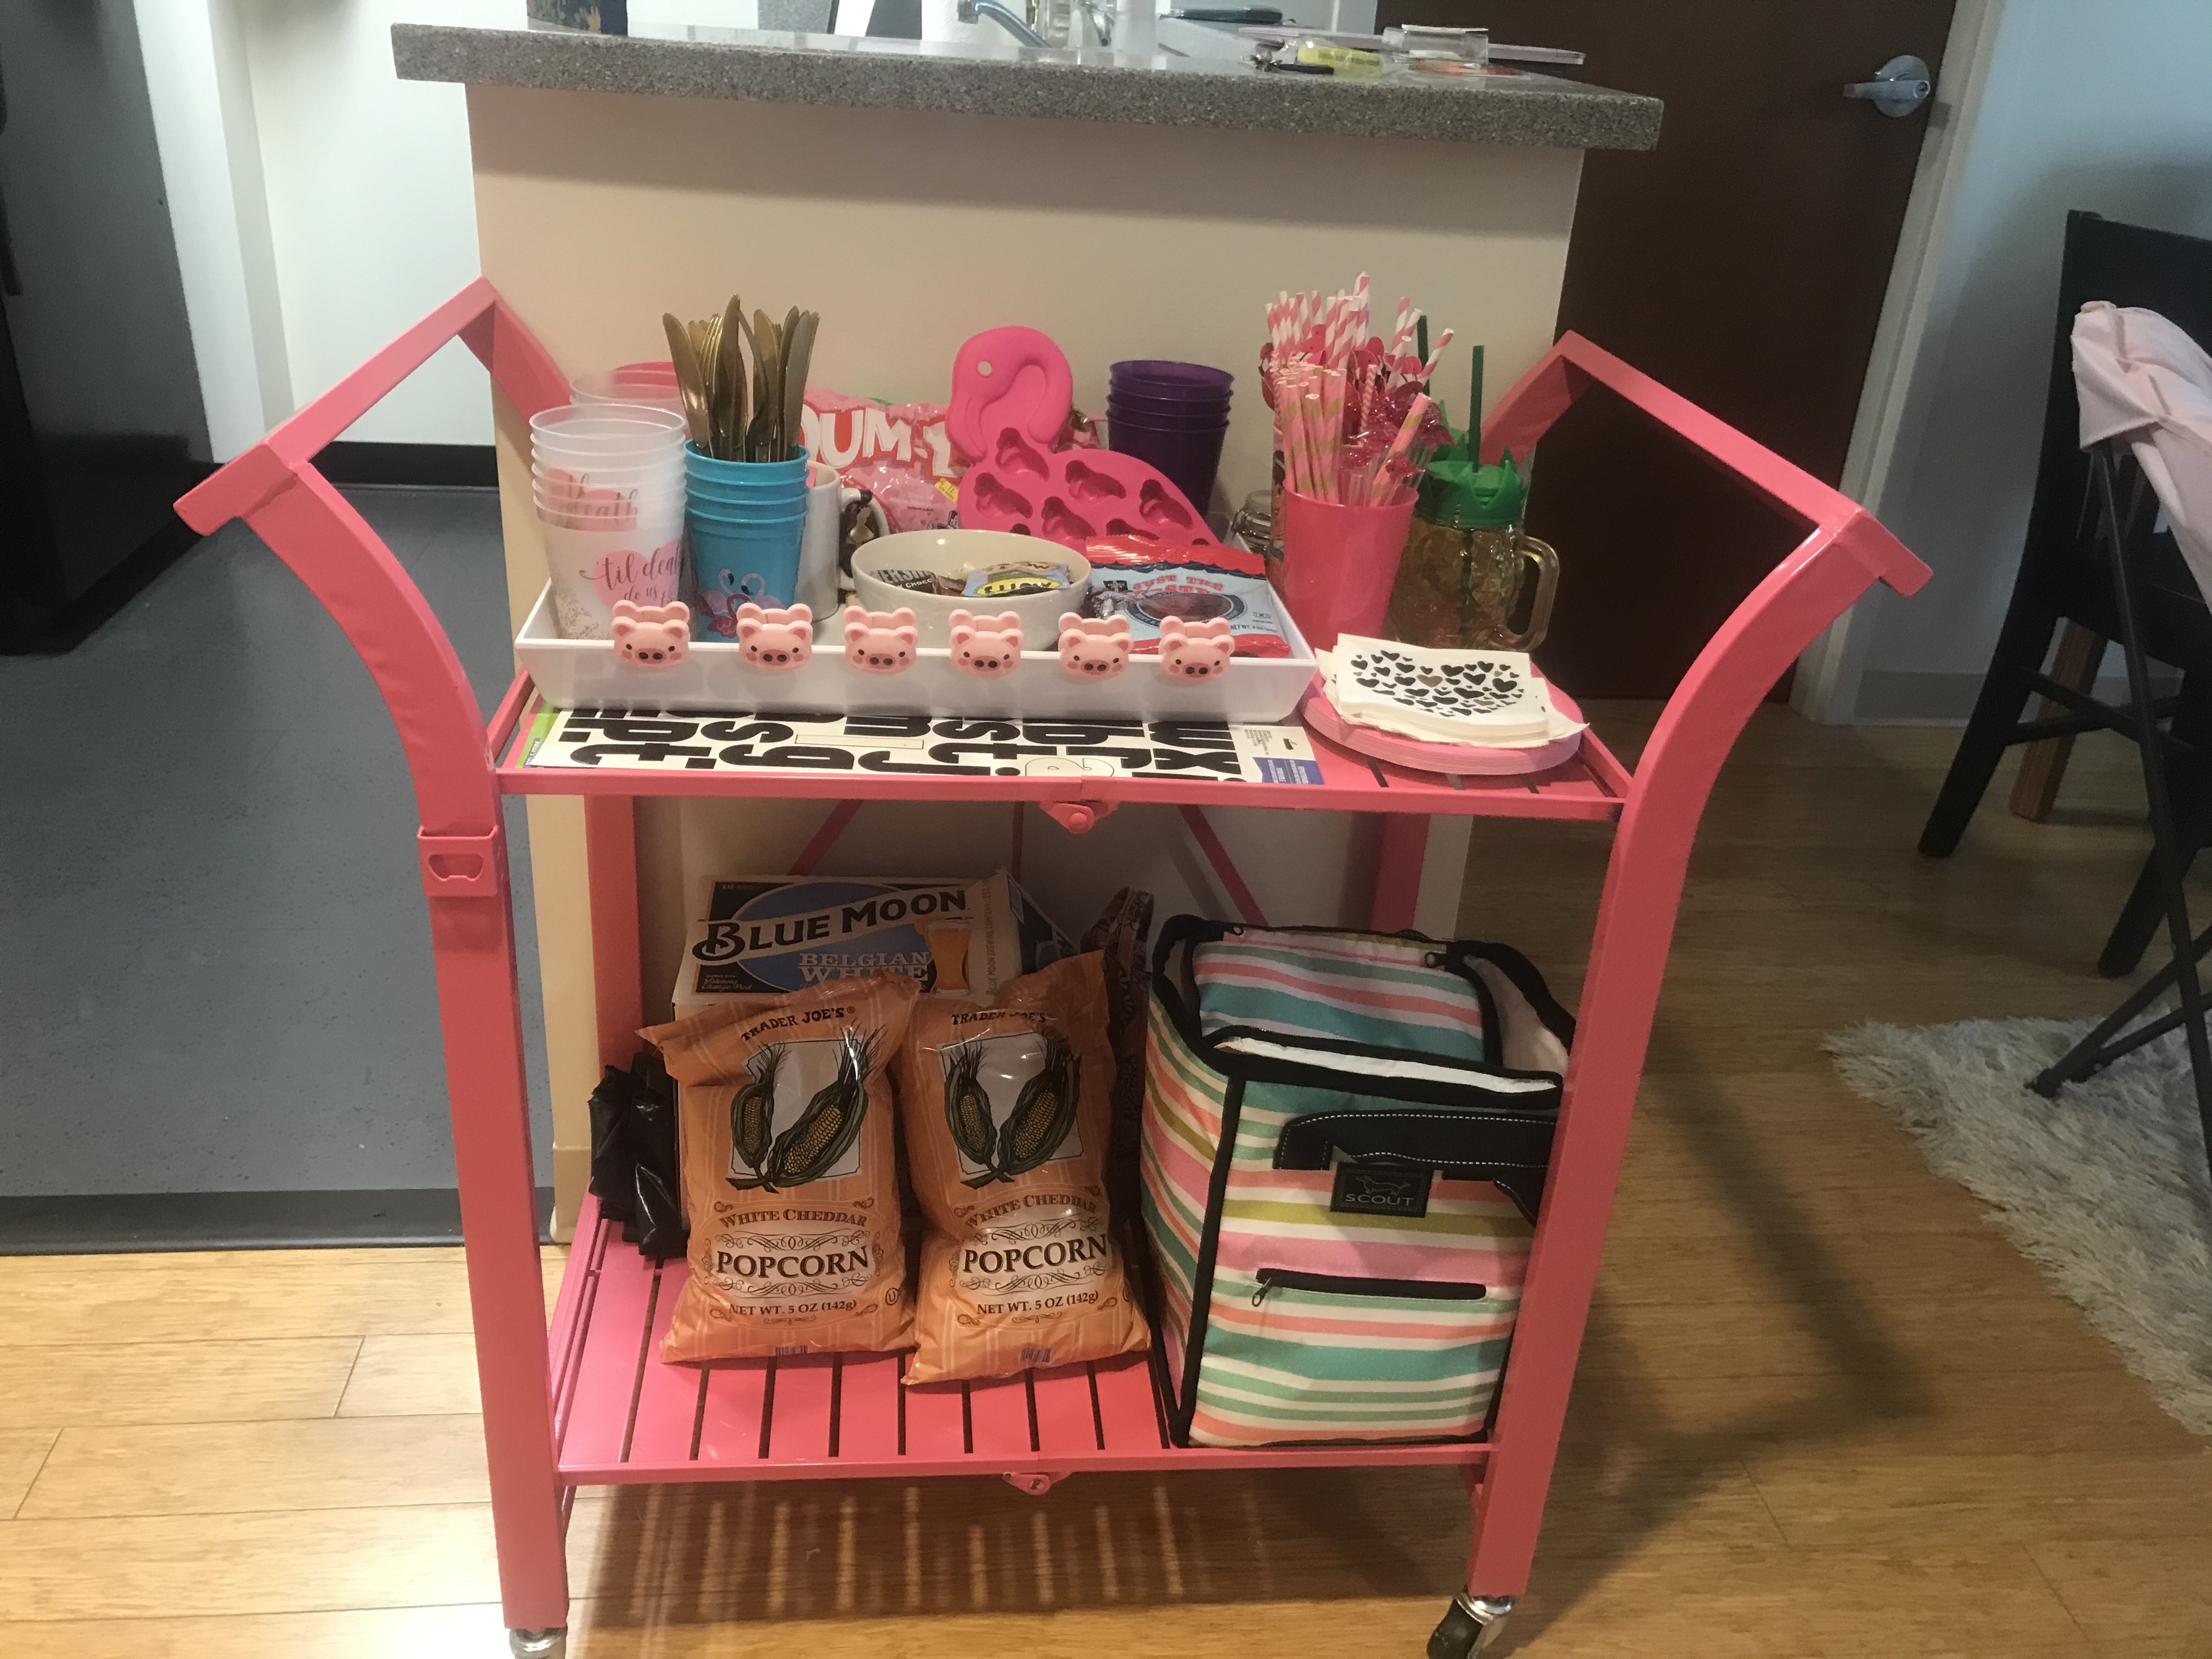
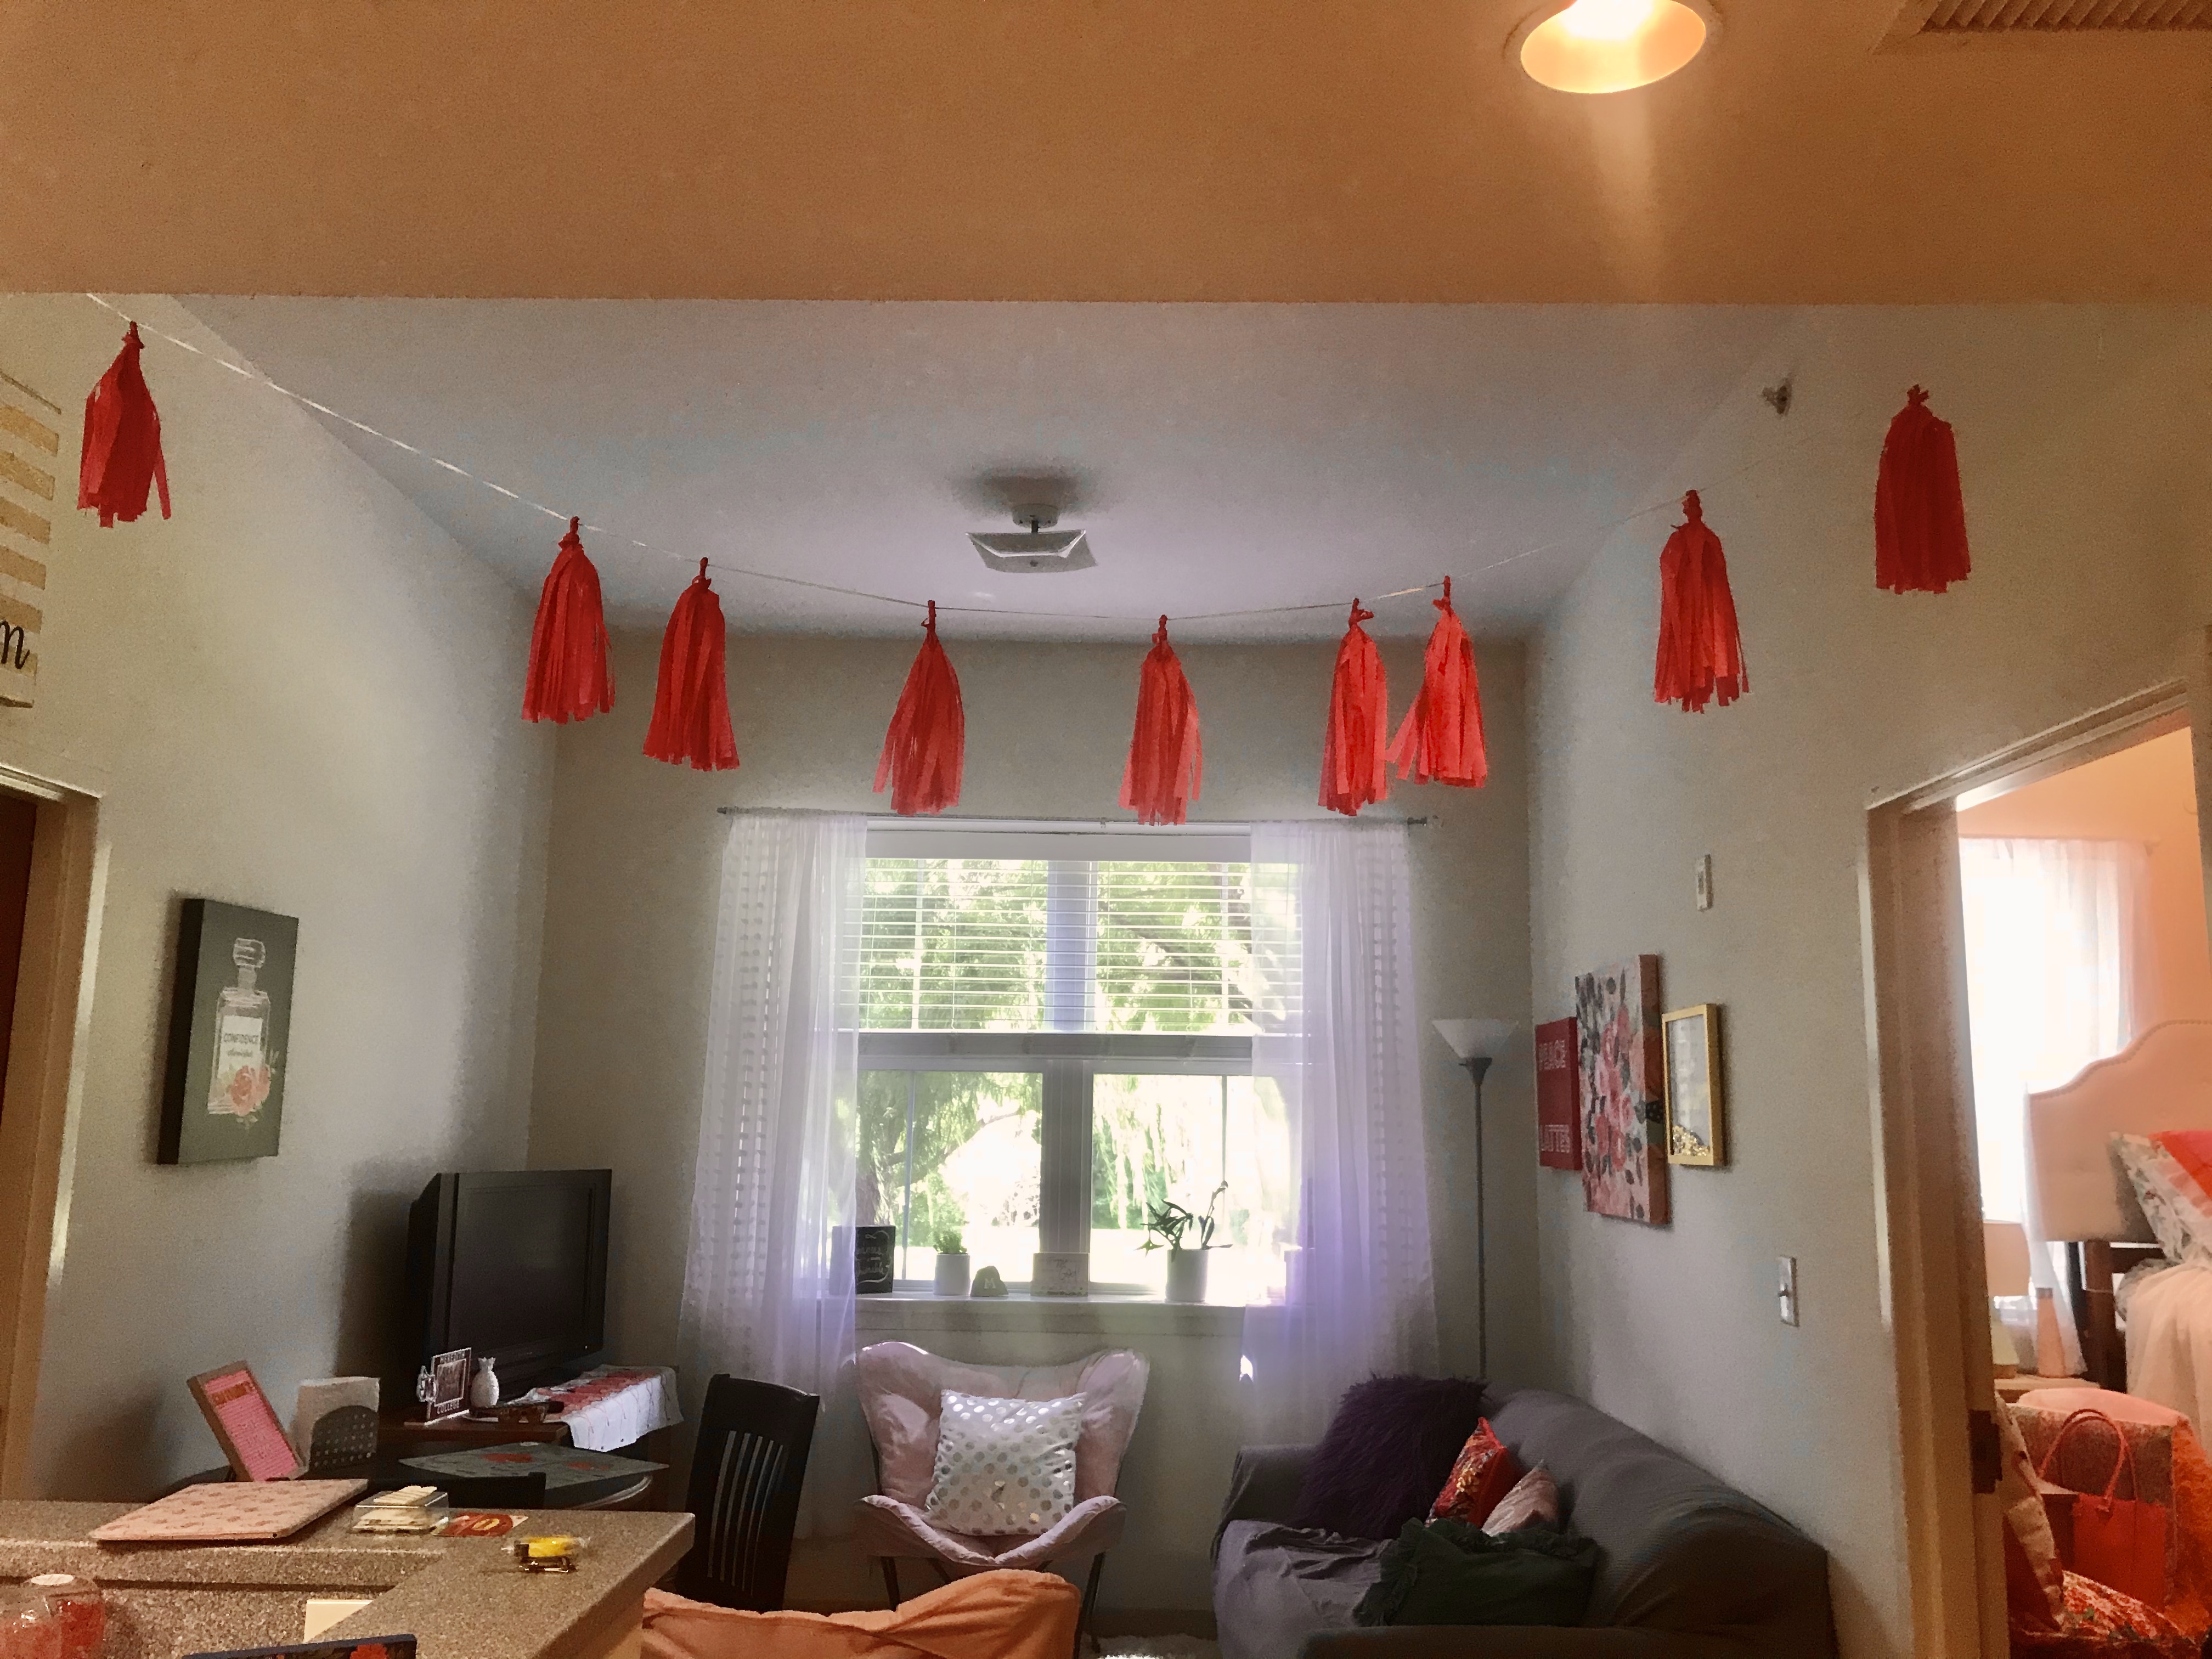
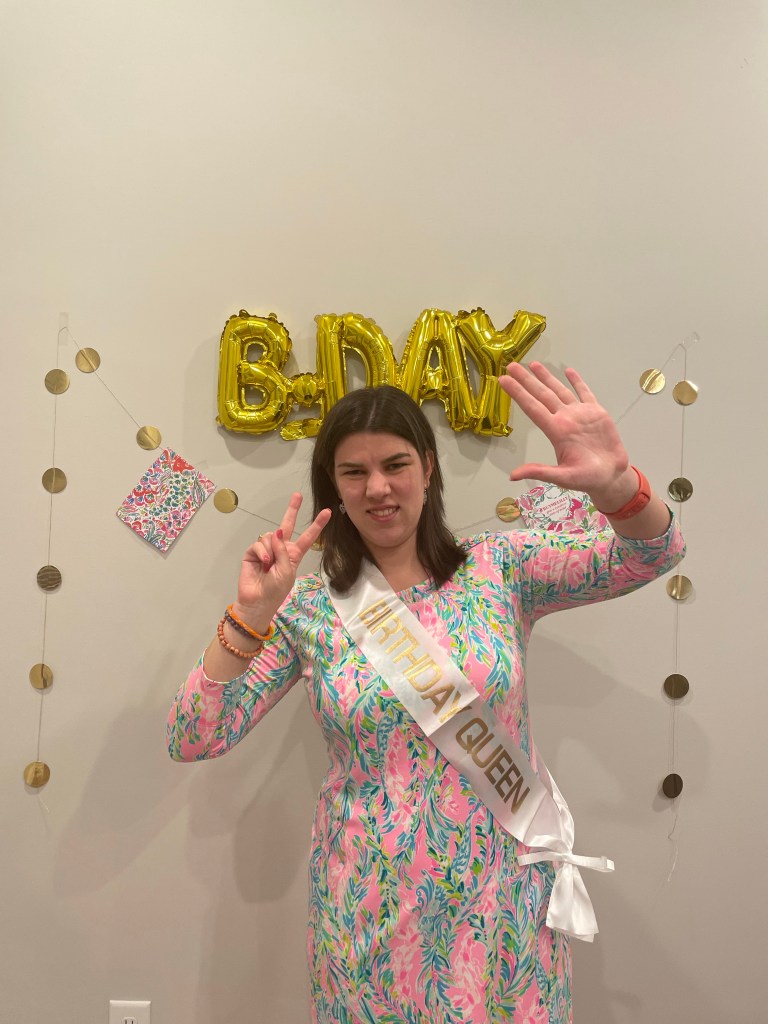
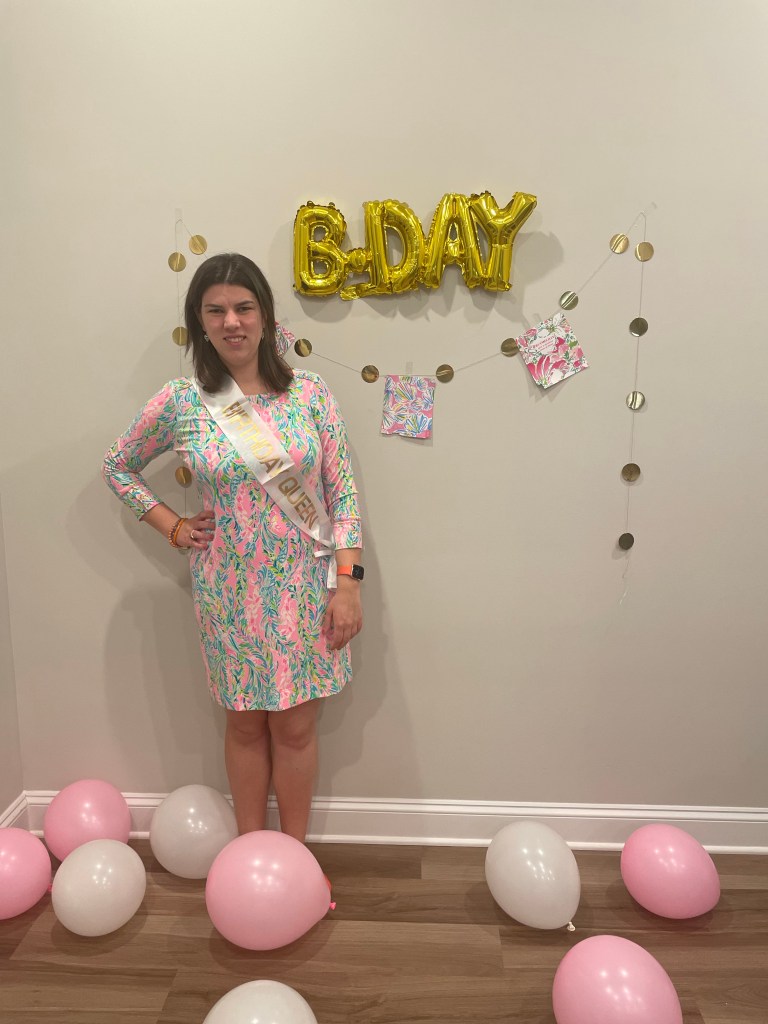
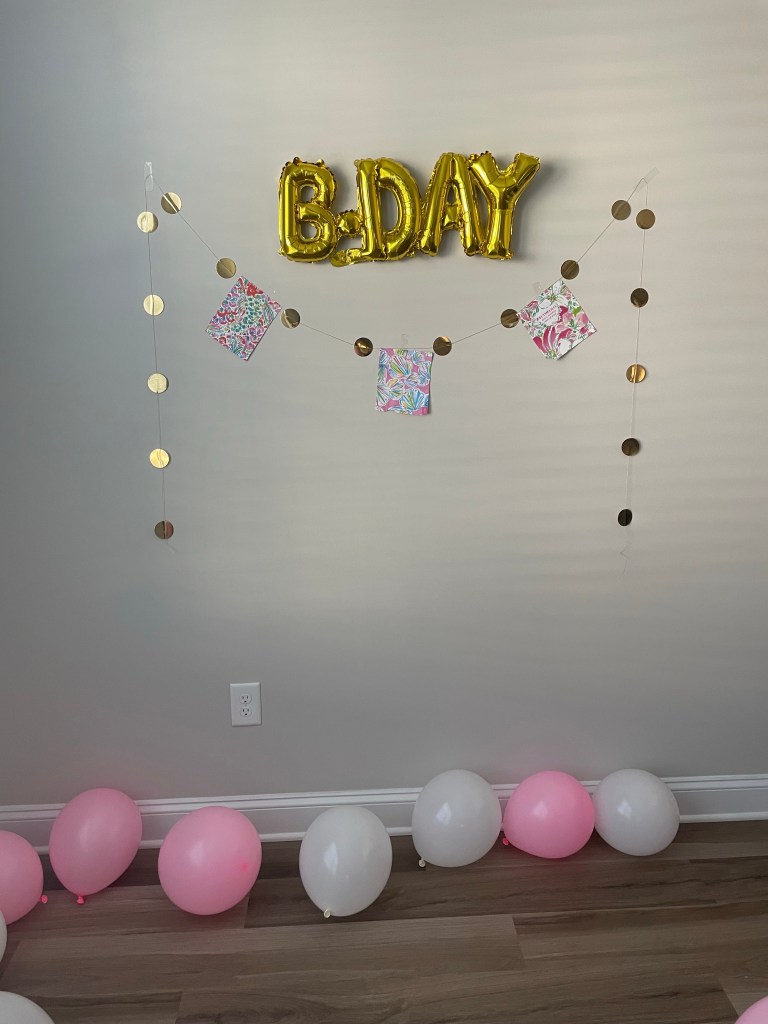
NOW, onto the decorations!! Personally, I ALWAYS choose a few base colors based off of a print and/or theme. Fun fact: for my college dorm room Freshmen year, I based it off of Lilly Pulitzer’s Peel N’ Eat print and chose the colors: aqua, gold, coral/hot pink, white, and gold. SO, I *had* to do the same base color planning for Alanna which happened to be: hot pink, white, and aqua with pops of gold. I went to The Dollar Tree *surprise* for pretty much all of it. I made out a list via my vision for Alanna’s Birthday Party, in order to make it ALLLL happen. I made a list and checked it twice while at The Dollar Tree. Some of the items on that list included: pink and white balloons, B-DAY balloon, pink tablecloths, pink utensils, ribbon, and a Birthday banner. I also allowed some room for myself to simply be creative and see what I could find via my creative soul that could go with the theme. The items that I picked up included: a “Happy Birthday” banner, a gold foil garland, ribbon, gold glittered hand lettered cake topper, a white “Birthday Girl” sash, hot pink utensils, pink and white balloons, and a gold “B-DAY” balloon. As for the Lilly Pulitzer prints, unfortunately, my printer was not working to print out images of Alanna’s favorite prints, so I went through my crafting supply bin and luckily found some old Lilly Pulitzer planner sheets. All in all, my mind was EVERYWHERE when planning Alanna’s Birthday Party decorations, but in the end, it definitely all came together beautifully.

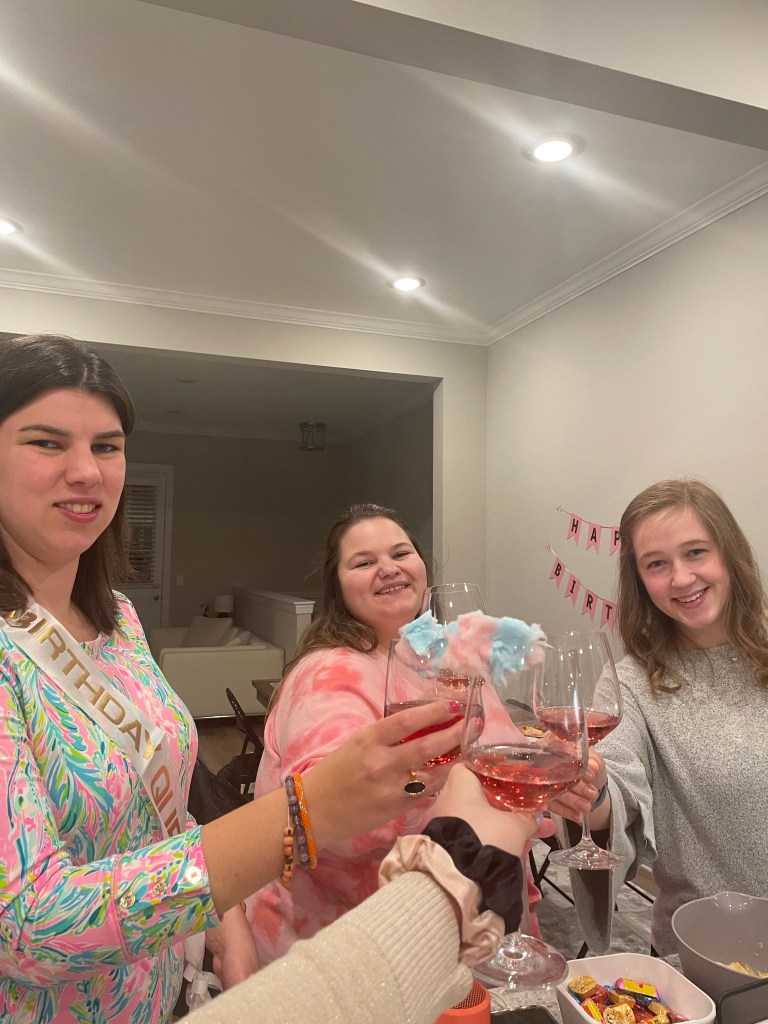
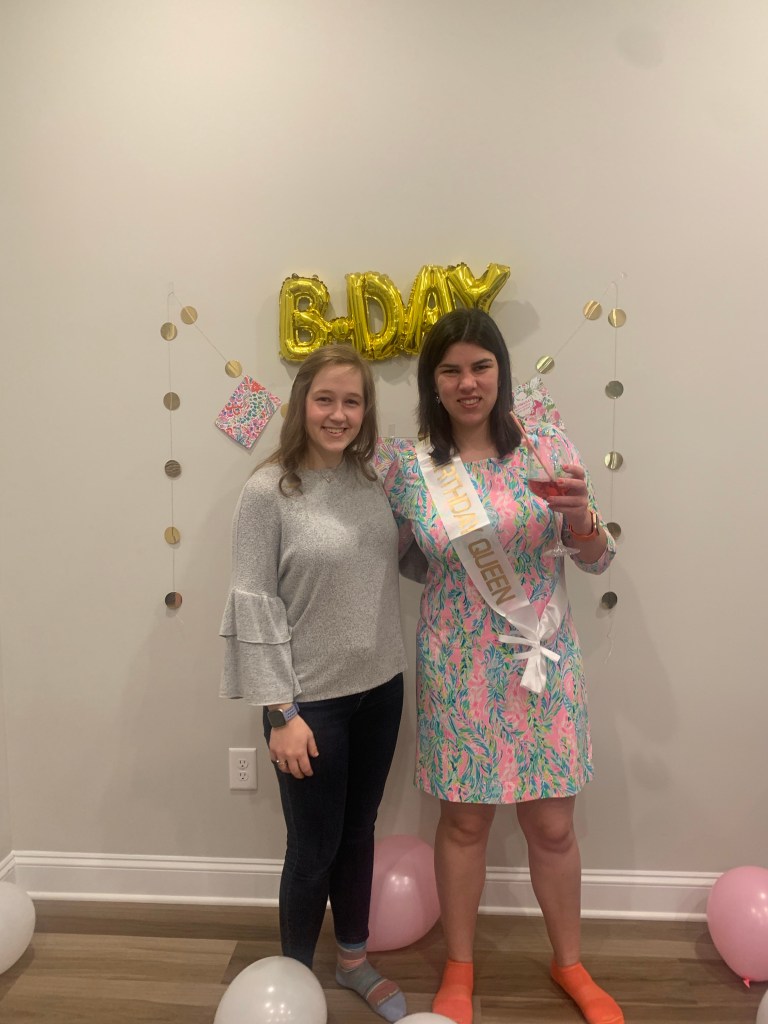
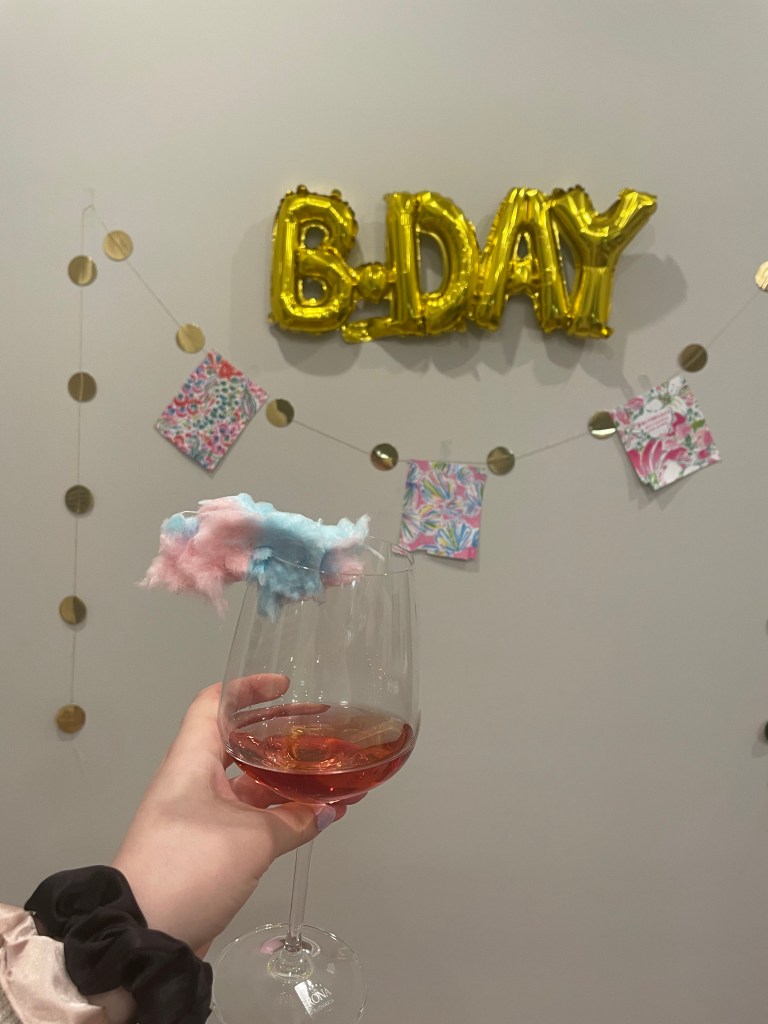
ONTO the execution!! We hosted Alanna’s 25th Birthday Party at Hannah’s place. Hannah and I started decorating a few hours before Alanna arrived and essentially went through ALL of the decorations (which, by the way, fit beautifully into my carry-on luggage) and put them all up together before Alanna arrived. Alanna is a holy grail Chick Fil-A fan and she brought over a heart-shaped tray of 30-count nuggets. Once Alanna arrived to Hannah’s place, we all went to Publix (it was actually my first time there – yay me!!) and we picked out two cakes, cotton candy-flavored wine courtesy of Alanna’s choosing, actual cotton candy, and some chips. It was such a fun memory with some of my best friends and simply catching up with all of ours’s mutual friend Jasmine.

Through it all, I felt oh so blessed to be able to give Alanna the Lilly Pulitzer Birthday Party of her dreams. It was the first time ever that I planned a Birthday Party and it all was such a blast!

XOXO – Katie <3

DIY Lilly Pulitzer Notebook Cover!

Call me crazy, but I have been a major major major notetaker at work, especially since starting my new job. I have seen myself channel a brand new intern look so much since it all began. That being said, I have discovered the bargain notebook section at Target and have been going a bunch, too. On a recent trip to Target, I needed to purchase a bunch of notebooks, and I found some for 69 cents. As great of a deal as these notebooks were, they also had Target’s logo sprawled all around them and I knew I wanted something different for mine.

I love love love some adorable and fun notebooks. I have found some at Target and Walmart, but am not willing to pay even $5 for a notebook that I will only use for a week or less to jot down information at work, whether it be from meetings, acquiring new project information, or trainings. At the same time, I cannot justify the price of the oh so adorable Lilly Pulitzer and Erin Condren notebooks of a Whooping $15+. So, I set out to create my own notebooks straight from my crafting bin! These notebook designs can also be used for the Back to School season, too, along with a variety of other purposes.

DIY Lilly Pulitzer Notebook Cover

Materials

  • Lilly Pulitzer planner paper (or your favorite Lilly Pulitzer print straight off of the printer – a Google image search can do just that for you)
  • Solid colored construction paper in the color of your choice
  • Stickers/embellishments (I went with rhinestones that I probably purchases during my tween bling-loving days – haha!)
  • Scissors
  • Tape/Glue (I have found tape as simple as Scotch tape to be very effective)
  • Black Pen

Steps

  1. First, I cut the construction paper to be the size of the notebook cover, then I taped it to the notebook cover.
  2. I cut out an old Lilly Pulitzer planner sheet into a square and then taped it over the construction paper.
  3. Then, I cut out a small rectangular piece of the construction paper and taped it over the center of the Lilly Pulitzer print. Its purpose is to serve as a label for the notebook.
  4. With a black pen, I wrote on my label what the purpose of my notebook is.
  5. Lastly but not in the least, I added a few rhinestones to bedazzle my notebook!

The best part of it all?! My notebook makeover costed $0 for me to do. That way, I could save and still have what feels like a $15+ notebook without even paying the hefty price tag!

XOXO – Katie <3

The DIY Breast Cancer Awareness Banner Made that Costs $0

Did you know that 1 in 8 women in the United States will be diagnosed with breast cancer during her lifetime? Me either. 1 in 8 people is a big number. Knowing this information, I think it is important that we all discuss and bring awareness to breast cancer. Breast cancer runs in my family, as my Great-Grandmother who I am named after got diagnosed with it and unfortunately passed away from it. Similar to my family, I know that many others have connections in their family and friends who have either had breast cancer or had it themselves. That being said, I decided to DIY a super cute banner to bring awareness to breast cancer research as well as its prevalence in our world today.

Every October, Lilly Pulitzer realizes a Paws for a Cause print where they donate some of the profits from its’ sales to the Breast Cancer Research Foundation (BCRF). The print is *of course* pink, and I am obsessed with them all year after year. This year’s print was super duper adorable that I HAD to purchase something in it, especially knowing that my purchase goes to a great cause. As I have been eyeing Lilly Pulitzer’s pajama pants for quite some time now, I finally made the plunge and purchase a pair in this year’s Paws for a Cause print. Knowing how breast cancer affects many women and Lilly Pulitzer lovers, I really respect that my favorite fashion brand takes the initiative to support breast cancer research.

To go with my Paws for a Cause pajama pants, I decided to hand make a banner for my apartment. To make it, I went on my good old laptop and printed out a full page length of the print with one of the letters in “Think Pink” in a text box over it. I, then, printed the pages out, and hole punched the two left and right corners on the top of each page. Lastly, I weaved a tiny white ribbon through the holes and tied a knot at the ribbon on the end of each side.

I have made banners in my favorite Lilly Pulitzer prints in the past for both my dorms and my apartment. They have been such a fun decorative asset in my rooms for the past four years! Getting to have a banner that supports a cause that is very important to me and to many others is a great way to show off awareness for the things that mean the most to me. Although breast cancer is not going away anytime soon, showing off and giving my support for the cause is a way that I can do my part to help others and potentially myself someday.

XOXO – Katie <3

DIY Laminated Placemats

Being on a budget, I always wanted to have cute placemats in my apartment, but did not want to pay the price for them. The majority of placemats that I see are around $10 each, which can be a hefty price tag for one placemat. That being said, I really wanted to find a way to DIY a placemat into something super cute yet practical. Today, I will be sharing how I made my own laminated placemats!

First Up: Pick Your Poison!

From wrapping paper to scrapbook paper to collages and everything in between, the base paper for your placemats can be pretty much anything that you wish. Using wrapping paper and cutting it into equivalent sizes (like I did) was the way that I DIYed my placemats. I purchased my wrapping paper from Paper Source for $10. You can also use fabric squares or cut pieces of fabric into squares to your liking. If you want to use pre-cut pieces of paper, there is always scrapbook paper which can be purchased at stores such as Michael’s or Hobby Lobby for 25 cents-$2.00 a piece. All still at a fraction of the cost!!!

On the custom made end of things, I have thought about printing out my favorite Lilly Pulitzer prints onto 8×10 sheets of paper. At the same time, you could easily put their favorite Lilly Pulitzer prints from their old Lilly Pulitzer planner into a collage and then laminate that as well. Moreover, you could easily custom design each placemat with a unique painting or with a customized monogram/saying on each placemat. A custom-made placemat will definitely brighten your tables!

Second: Get It Laminated

Now that you’ve picked your poison, it’s time to get it laminated! If you have a laminator at home, that is definitely the way to go. However, luckily, places like Staples and Office Depot offer lamination services that are affordable and easy to use. I got mine done at my college’s library, but I would definitely hit up a local Staple’s if I were at home. However you choose, to laminate your placemats, they will be done on the affordable side!

Third: Enjoy!

Now that you’ve laminated your poison, you now have your very own set of placemats AND at a fraction of the cost!!! The best part about laminating your own placemats is the practicality of it – they are easy to clean and super light. As always, you can customize your placemats to your liking! Hopefully, your placemats get a lot of love out of them for many more meals and years to come!

XOXO – Katie <3

My Craft Bucket List

Let’s get CRAFTY!!! Last week, I mentioned that one of the blessings that I have experienced during the Covid-19 pandemic is establishing new hobbies, including crafting. Since starting to dig into this brand-new hobby of mine, I have come across several different DIY crafty things that I want to try. Today, I have listed all of those to help gather myself some inspiration as well as y’all!

Home Decor

  • Coffee/Tea bar out of an antique armoire or shelf
  • Chair covers
  • Painted bar stools
  • Glitter confetti desk chair
  • Table runner
  • Lilly Pulitzer printed placemats
  • DIY laminated placemats using wrapping paper
  • Spray-painted picture frame
  • Curtains
  • Wine & design canvas
  • Fleece throw blanket
  • Area rug made out of fabric scraps
  • Door hanger

Fall

  • Pie banner
  • Painted pumpkins
  • Door sign
  • Wreath
  • Canvas

Christmas

  • Christmas cards (annually)
  • Photo ball ornaments (as gifts)
  • Lilly Pulitzer printed ornaments
  • Banner of some sort
  • Canvas
  • Wreath

Scrapbooks

  • Family trips/reunions
  • Friends & family graduation notes
  • My Meredith College experience
  • Study abroad

Accessories

  • Fleece scarf
  • Hairband
  • No sew skirt

If only I had the time to do it all!!!

XOXO – Katie <3

My Lilly Pulitzer Inspired College Apartment

Hey y’all! I am SO excited for today’s post, which is an Apartment Reveal of my on-campus college apartment!!! This is my second year living in this gorgeous apartment that I LOVE to call my home, but I definitely did some decorating here and there since moving in last week. Decorating is one of my favorite hobbies and if I could do it ALL DAY EVERYDAY, then I would. I get such an adrenaline from shopping for decor, especially on a budget. Keeping this in mind, the majority of things in my apartment are from Marshall’s/Home Goods/TJ Maxx, The Dollar Tree, Walmart, The Christmas Tree Shops, Amazon, Hobby Lobby, small businesses such as The Redheaded Camel, The Local Squirrel, and Pamlico Paper Company, gifted to me, things that I already had, secondhand finds, and DIY. My apartment was furnished for the most part, which is an extreme blessing! Hopefully, I can provide you with some decoration inspiration for your own place. Enjoy!!!

XOXO – Katie <3

DIY Monogrammed Lilly Pulitzer Notebooks

Hey y’all! As a new school year approaches, it just may be time to upgrade your typical notebook to start it off fashionably strong. This past semester, I decided to spice up my notebooks with my own preppy twist that I wanted to share it with y’all!

Materials

  • 1-5 subject spiral notebook (I usually buy mine at the cheapest price from either Walmart or Target)
  • Modge Podge (I got mine from the Dollar Tree)
  • A computer with Microsoft Word

Directions

  • Look up your favorite Lilly Pulitzer prints online and add them into a Microsoft Word or Google Docs document and create a collage out of the prints online the size of a page or one print per page (whatever your liking may be!). I decided to use Postcards From Positano, Peel N’ Eat, Hangin’ Around, & Who Let The Fronds Out.
  • Add a text box into an existing document and place it over each printed page (or create text boxes in a new document if using old planner pages). Proceed to type your information in the text box and customize the font and size of the font to your liking.
  • Print the pages and prepare each page to place on each notebook.
  • Using modge podge, seal each page onto its corresponding notebook.
  • Place each monogrammed decal on each notebook; I purchased mine from a classmate of mine Destiny Eudy). However, there are many great deals on Etsy too!
  • Enjoy!

Bravo! You have made your own monogrammed Lilly Pulitzer notebook! I hope you enjoy going back to school/class in a bright and bubbly fashion.

XOXO – Katie <3