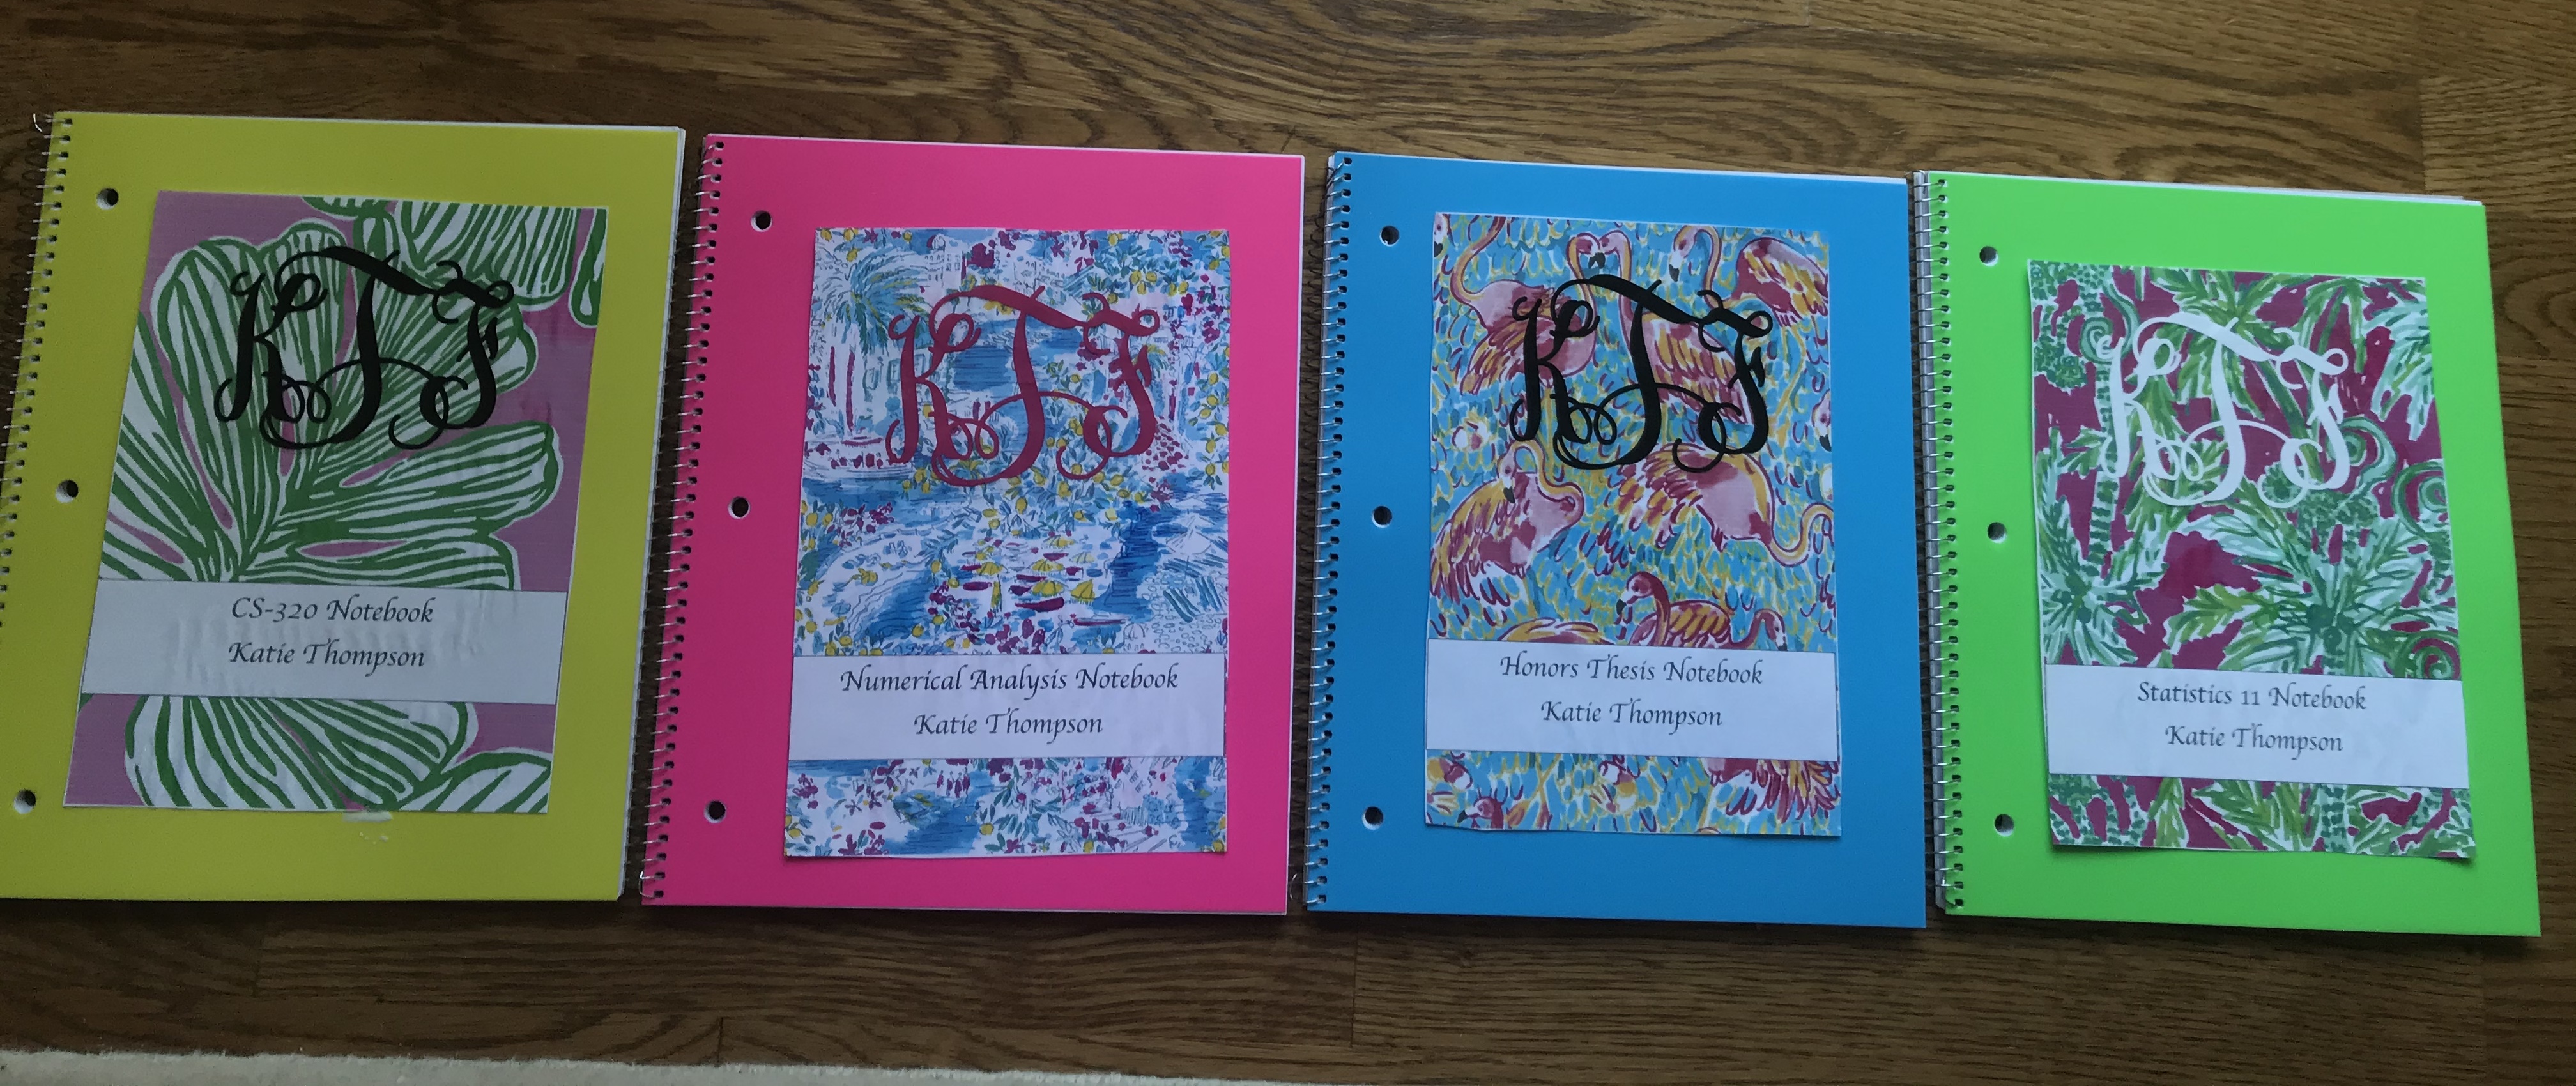
Call me crazy, but I have been a major major major notetaker at work, especially since starting my new job. I have seen myself channel a brand new intern look so much since it all began. That being said, I have discovered the bargain notebook section at Target and have been going a bunch, too. On a recent trip to Target, I needed to purchase a bunch of notebooks, and I found some for 69 cents. As great of a deal as these notebooks were, they also had Target’s logo sprawled all around them and I knew I wanted something different for mine.
I love love love some adorable and fun notebooks. I have found some at Target and Walmart, but am not willing to pay even $5 for a notebook that I will only use for a week or less to jot down information at work, whether it be from meetings, acquiring new project information, or trainings. At the same time, I cannot justify the price of the oh so adorable Lilly Pulitzer and Erin Condren notebooks of a Whooping $15+. So, I set out to create my own notebooks straight from my crafting bin! These notebook designs can also be used for the Back to School season, too, along with a variety of other purposes.
DIY Lilly Pulitzer Notebook Cover


Materials
- Lilly Pulitzer planner paper (or your favorite Lilly Pulitzer print straight off of the printer – a Google image search can do just that for you)
- Solid colored construction paper in the color of your choice
- Stickers/embellishments (I went with rhinestones that I probably purchases during my tween bling-loving days – haha!)
- Scissors
- Tape/Glue (I have found tape as simple as Scotch tape to be very effective)
- Black Pen
Steps
- First, I cut the construction paper to be the size of the notebook cover, then I taped it to the notebook cover.
- I cut out an old Lilly Pulitzer planner sheet into a square and then taped it over the construction paper.
- Then, I cut out a small rectangular piece of the construction paper and taped it over the center of the Lilly Pulitzer print. Its purpose is to serve as a label for the notebook.
- With a black pen, I wrote on my label what the purpose of my notebook is.
- Lastly but not in the least, I added a few rhinestones to bedazzle my notebook!
The best part of it all?! My notebook makeover costed $0 for me to do. That way, I could save and still have what feels like a $15+ notebook without even paying the hefty price tag!
XOXO – Katie <3